Setting up chapters and regions
Chapters and regions are the structural backbone of your org. Get this right early — it's harder to restructure later.
Create a region
Regions group chapters by geography or governance. Most orgs have between 4 and 20.
- Open Org → Regions.
- Click New region.
- Set:
- Name (e.g., "Northeast", "District 5")
- Description
- Click Save.
Regions are simple containers in the data model — they don't carry a status flag or a states-covered list today. Assign chapters to a region either when creating the chapter or by editing the chapter's region field afterward.
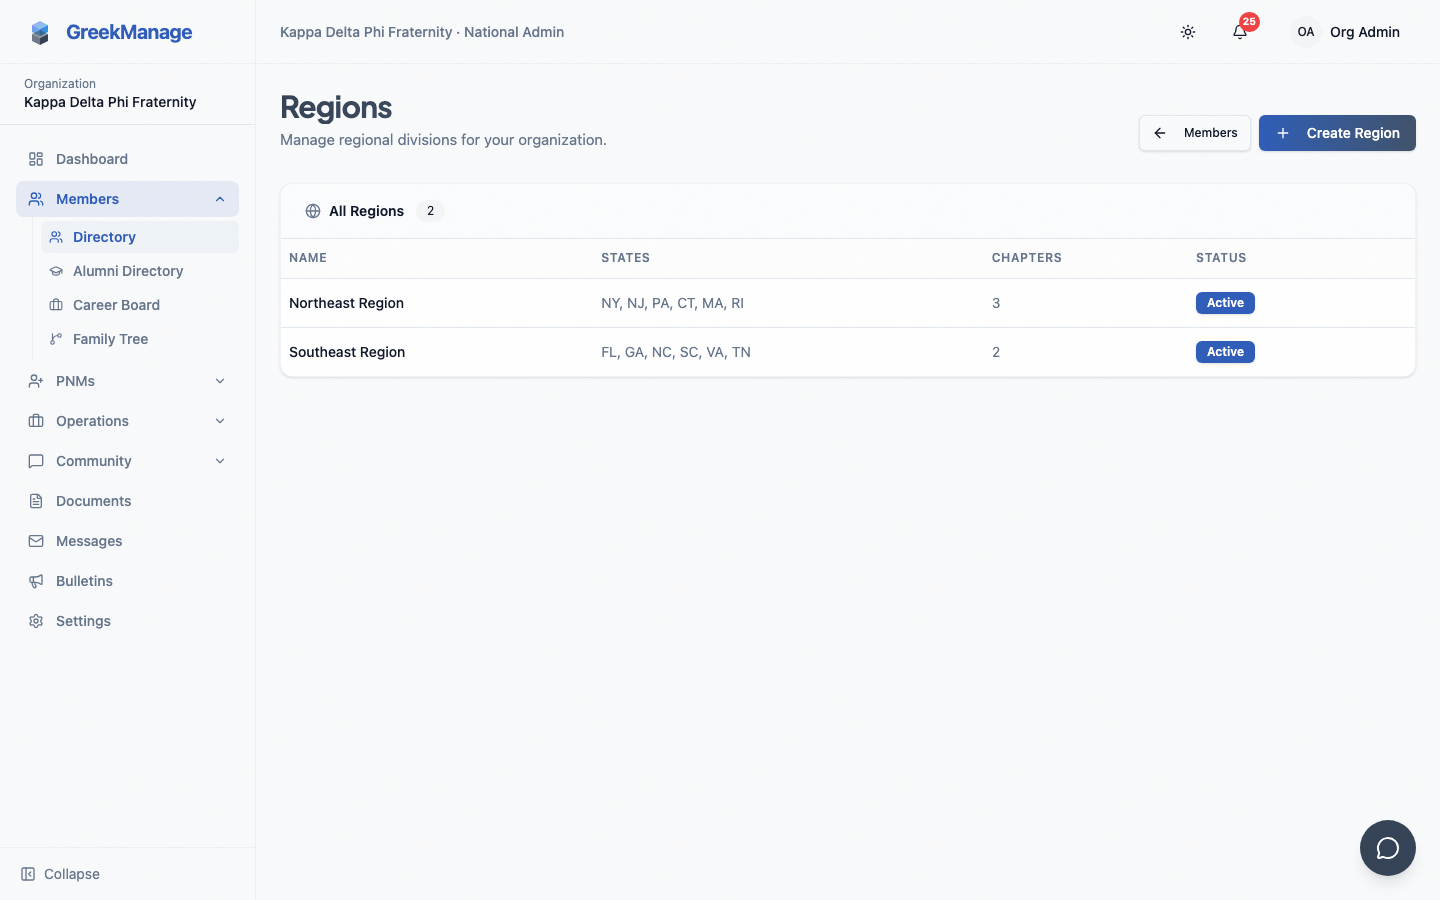 Region creation form.
Create a chapter
- Open Org → Chapters.
- Click New chapter.
- Set:
- Name (e.g., "Alpha Sigma at State University")
- Designation (e.g., "Alpha Sigma" — your Greek letters chapter ID)
- University (free text or pick from your saved list)
- City, State
- Region (pick from existing regions)
- Founded date
- Status: Active, Inactive, or Suspended
- Click Save.
The chapter is created. You'll typically follow up with:
- Adding members (manually or via the XLSX bulk import)
- Promoting at least one member to Officer or President
- Configuring chapter advisor records (see below)
Dues rates are set at the org level per member type (Undergraduate / Associate / Officer); there are no per-chapter overrides today. → Dues configuration & billing
Suspend or deactivate a chapter
- Open Org → Chapters → [chapter].
- Click Edit → Status.
- Choose:
- Active — normal operations
- Inactive — hidden from member directory; no new sign-ins; existing data preserved
- Suspended — sign-ins blocked, but visible in admin views; usually used during disciplinary action
- Add a reason for the audit log.
- Save.
Members of suspended chapters see a banner with your reason when they try to sign in.
Re-activate a chapter
Same steps, set status to Active. The chapter resumes immediately. Members can sign in again.
Move a chapter between regions
- Open the chapter.
- Click Edit → Region.
- Pick the new region.
- Save.
The change is logged. Notifications are sent to the regional admins of both regions.
Chapter detail tabs
The chapter detail page (Org → Chapters → [chapter]) has three tabs:
- Members — chapter roster with role and status
- Advisors —
ChapterAdvisorrecords for faculty/staff advisors (v0.53). Add, edit, deactivate. - Custom Data — per-chapter values for any chapter-scoped custom fields you've configured
Compliance, billing, and lineage views live on their own org-level pages with a chapter filter, rather than as tabs on the chapter detail page.
Naming conventions
Pick conventions early and document them in your Documents library:
- Chapter name: "[Greek Letters] at [University]" works well in directories.
- Designation: short Greek letter form, used in compact UIs.
- University: full name, no abbreviation.
Tips
- Don't over-region. Five regions of 30 chapters works better than 30 regions of 5 chapters.
- Use "Inactive" instead of deleting. History matters for orgs.
- Audit annually. Confirm chapter status, regional alignment, and named admin contacts every year.
Org slugs and the public apply URL
Each organization has a slug used in the public PNM apply URL: https://[your-app-domain]/apply/[org-slug]. Set the slug on the PNM Public Page settings card. → PNM program
Related
- Module enablement — turn modules on per-org (not per-chapter)
- Inviting admins
- Member XLSX import
Last verified against v0.62.1 (2026-05-10).