Member XLSX / CSV import
For orgs migrating from spreadsheets, another platform, or onboarding a large pledge class, bulk import is the fastest way to load member data. GreekManage's importer accepts XLSX (preferred — supports multiple sheets) and CSV, and uses AI to map your column headers to its canonical fields.
Open the import wizard
Org → Import Members (under the org settings / data management surface).
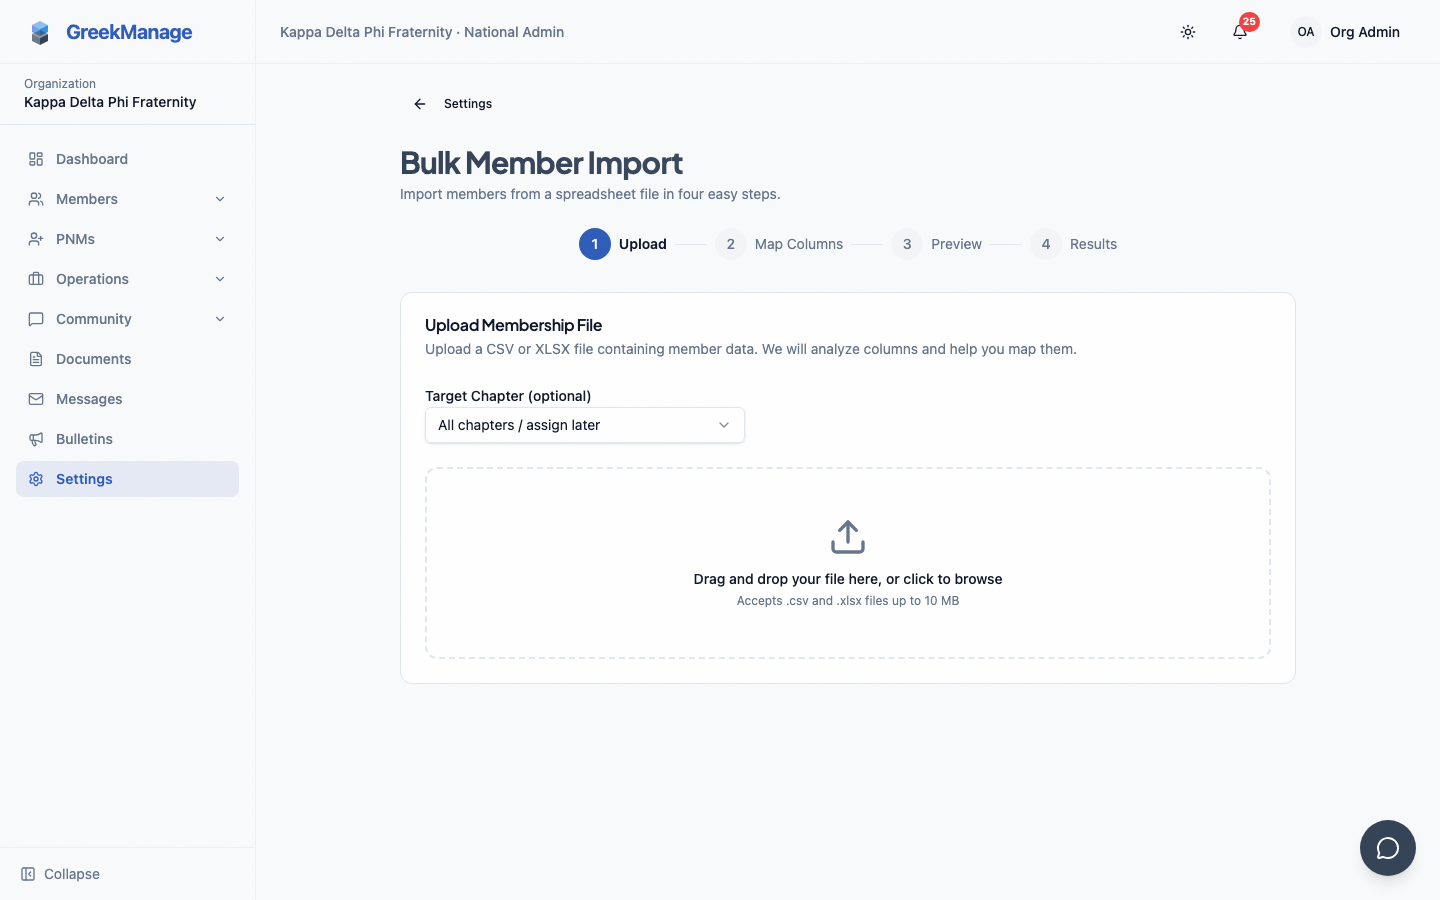 The bulk import wizard.
Step 1: Upload
Drag-and-drop an XLSX or CSV file onto the upload zone (or click to choose). Server-side limits:
- 5,000 rows total
- 5 sheets max per XLSX (each sheet processed; sheets with no data are skipped)
The wizard parses the file and shows detected sheets, headers, and a sample of each.
Step 2: AI column mapping
The importer uses an LLM to map each of your columns to one of GreekManage's canonical target fields. Common targets:
- User:
email,first_name,last_name,phone_number - Membership:
chapter,status,role,joined_date,graduation_year,pledge_class,crossing_semester - Profile:
org_member_name,big_brother,new_member_educator,school_attended,profession,company,employment_role,city,state,country,linkedin_url,personal_website,willing_to_mentor,open_to_connect - Degree:
degree,major,minor,school
Review the suggested mapping. You can adjust any column's target or mark it as "skip". For multi-sheet XLSX files you map columns per sheet.
Step 3: Preview and validate
The wizard validates:
- Required fields present (chapter, status, role at minimum per row)
- Chapter values resolve to existing chapters in your org
- Status / role values are valid enums
- Duplicate emails are detected
You'll see per-row results: rows ready to import vs. rows with errors.
Inline error editing
For rows with errors, click into the row and edit the fields directly in the wizard — no need to fix the spreadsheet and re-upload. Save the corrections; the row is re-validated.
Step 4: Run
Click Run import. Processing happens in the background; you can leave the page and a notification will tell you when it's done.
Email-optional placeholder accounts
Members without an email address can still be imported. The importer creates a placeholder user with an internal no-email-<random>@placeholder.local address. These accounts are directory-only — they have no login, no welcome email, and no password. When a real email is added later, the placeholder address can be replaced and the account upgraded to a real login.
This is useful for historical roster data where some members never had a recorded email.
Re-running an import
If you re-upload a file that includes existing members (matched by email):
- Existing members are updated with any new field values.
- New members are created.
- No members are deleted — even if they're missing from the new file.
To remove members, do it manually (or via a bulk-deactivate workflow outside the importer).
Big-Little relationships
If you include big_brother for each member:
- The importer resolves bigs after the main pass.
- If a member's big is in the same import, both rows process correctly.
- If the big doesn't exist, the relationship is skipped (logged in the import result).
You can re-run the import once all members exist to fill in any missed relationships.
Tips
- Pilot with a few rows first. Run a 5-row import end-to-end before loading 2,000 rows.
- Use XLSX for multi-sheet imports (one sheet per chapter, for example).
- Trust the AI mapping but verify. It's usually right; double-check chapter and role/status columns specifically.
Related
Last verified against v0.62.1 (2026-05-10).